We have this awkward in-between room that separates a first floor bedroom and the only downstairs bathroom. Sort of like a giant hallway. A roomway! It took us a good six months to figure out what to do with it.
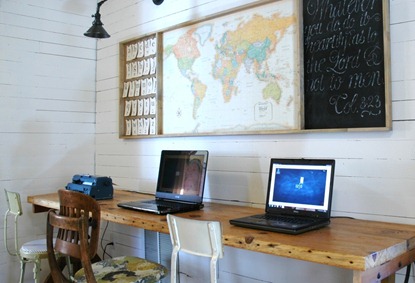
Until the kids have flown the coop, it will serve as a schoolroom of sorts. Some of their homeschooling is done on the computer, so we decided to have a dedicated area for computer set-up. It also serves as a spot for Charlotte’s Brailler.
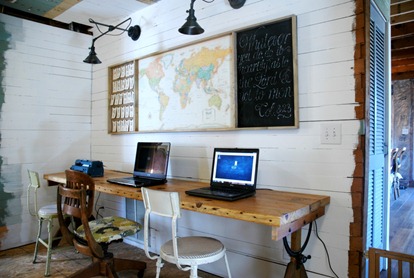
In a later post, I’ll show you the floor to ceiling bin system set up on the opposite side of the room that holds all of the school supplies. I’ve come to love this room for all the organizational goodness it provides. This room (like so many other rooms) is far from finished, as you can see below:
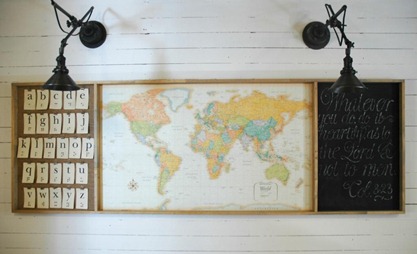
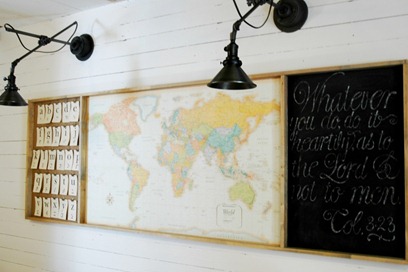
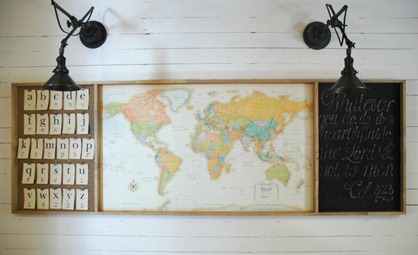
I can at least show you what we did with the big empty wall in the room. My husband built a long table which I’ll be sharing more about in another post. I knew I wanted to somehow incorporate a map, a chalkboard, and a bulletin board above it, and this is how we ended up going about it…
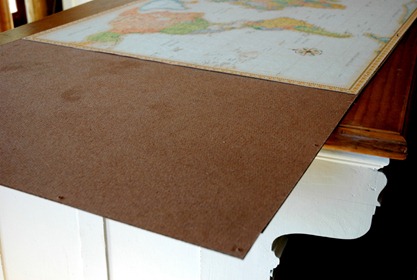
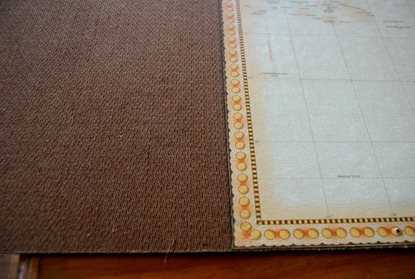
We measured and cut (with a circular saw) a big piece of inexpensive “hardboard” to fit the space and the map and spray mounted the map onto the center of it.
Our map is a 4’ x 2.5’ Rand McNally World map. I liked the vintage colors in this particular one.
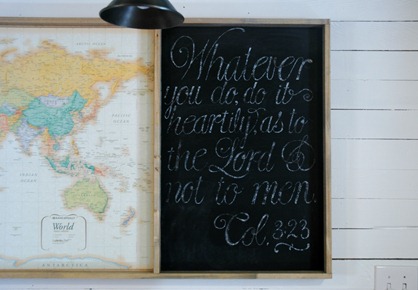
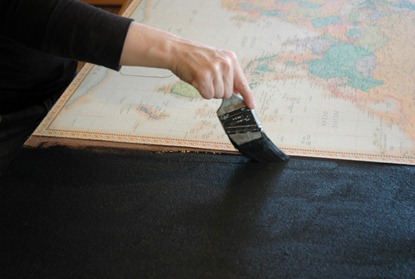
After applying the map, I brushed chalk board paint on the right side.
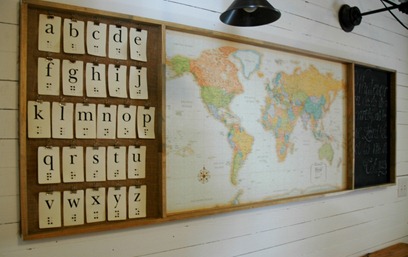
And on the left, we applied the burlap also using spray mount. I don’t have pictures of us applying the burlap but you can imagine. Spray and press.
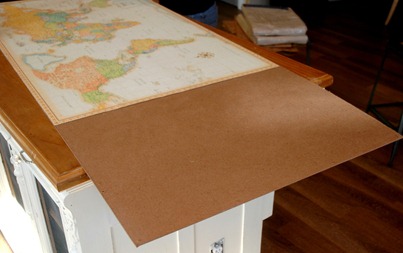
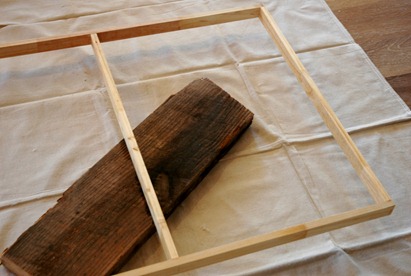
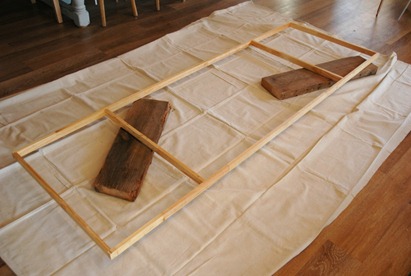
And then my handy husband made a simple frame using inexpensive 1 x 2 pine. Otherwise known as “fingerboard”.
We put it up on blocks to make staining easier.
I used a “Weathered Oak” stain to make it look old.
My husband attached the board to the frame from the back using wood screws. And WALLA!
A custom bulletinboardmapchalkboard-thingy-me-bob! :)
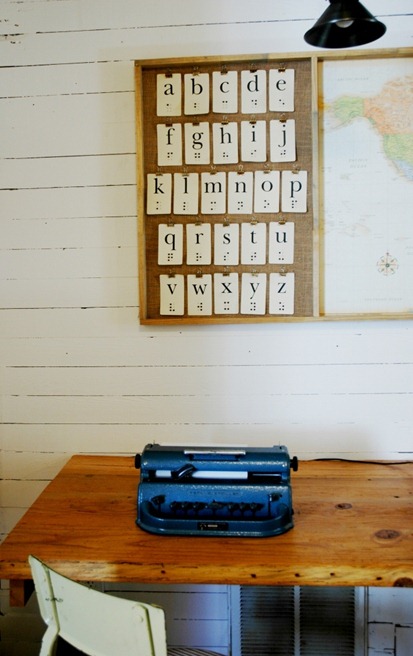
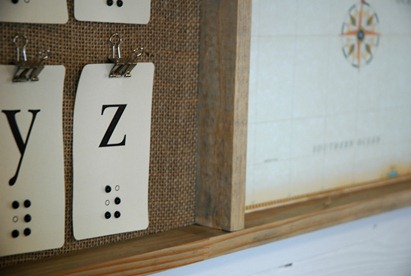
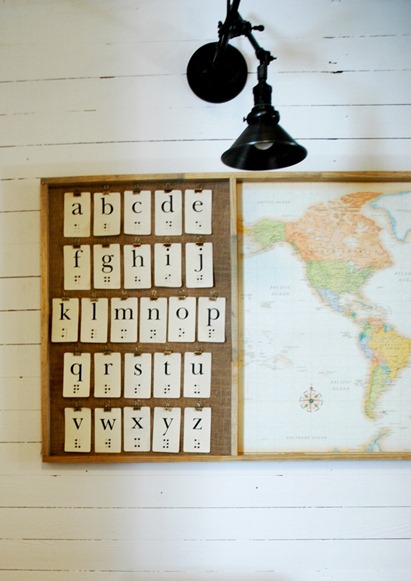
For the bulletin board, I used the same braille flashcards we had in our last house. You can read about them here.
Once again, the flashcards are a good visual reminder of what we’re all supposed to be learning (yes, the whole family is learning braille!), but it’s also handy being able to take the flashcards down from the clips to quiz Charlotte. It’s really just a faux bulletin board, since I used stickies to attach the metal clips. If you really wanted to use tacks, you would likely have to use cork board instead of hardboard. Because hardboard is very… hard.
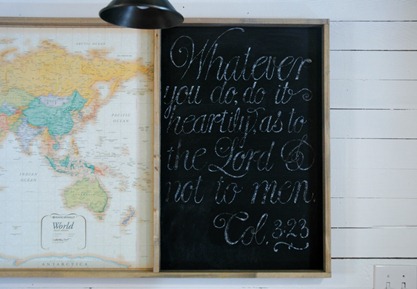
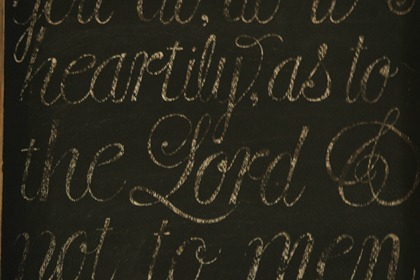
The verse written on the chalkboard reminds us of how we are to work, and for whom. Fitting for a school room.
The lights came from Restoration hardware at 50% off! I’ve long admired them and so happy to have them for this space.
I can’t tell you how thrilling it is for me to be organized again! After this crazy move, I spent so many months feeling discombobulated. But now I feel like I can finally let out a sigh of relief. It’s all coming together…little by little, wall by wall.
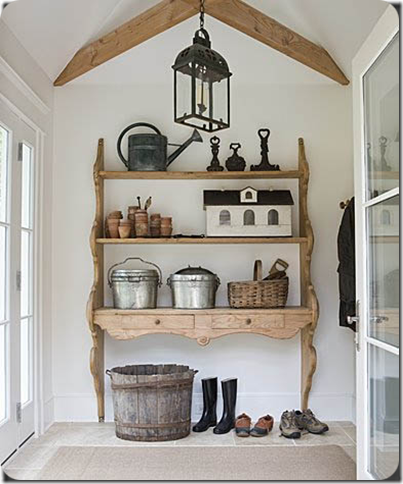
Immediately after I saw this shelf posted on a design blog, I knew it would be the perfect thing for our hallway.
I emailed my husband with only the photo and a subject line of “can you make this?”
His email back: “yep”.
I love my handy husband, and also love how few words it takes to communicate affectively in our marriage. ;)
(I don’t remember the blog I got this from or the source of the photo… anyone?)

You see, there is a wall that sits opposite the piano. But now I realize my dear readers, you might have thought I meant I'd show our project going on behind the wall of the piano. That project is probably a post for next week (if we finish the project in time that is!).

Sooo, on the opposite wall of the piano, we have bookshelves for little Charlotte to help herself to. They are special shelves reserved just for her braille and touch & feel books.


