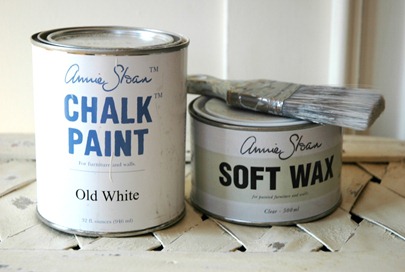
You probably know all about Annie Sloan’s chalk paint by now… it’s been reviewed and pictured through tutorials galore all over the decorating blogosphere. I’m late to the party again, but I finally got a chance to try it out.
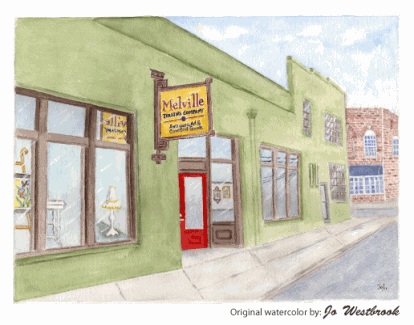
Because my three older girls and I share many of the same interests and passions, we are able to enjoy working and creating together. So when I found out there was a chalk paint class nearby, I thought it would be the perfect birthday outing with my second daughter Haley. The class was taught by Barbara at the Melville Trading Company… a terrific antique store in the quaint town of Mebane, NC.
I’ve blogged before about how we try to give “tools” instead of toys for gifts, and I’ve gotten many emails asking for more examples. In a nutshell, we try to think of gifts or trips that will teach them something new, further develop a skill, or create a lasting memory of time spent together.
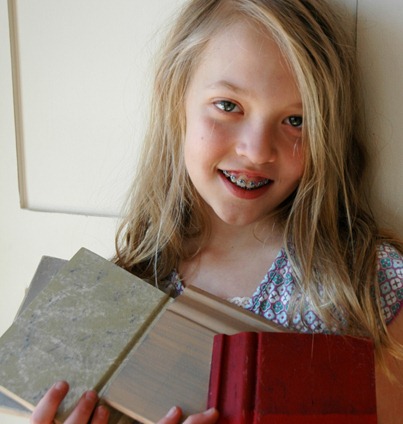 Haley with her painted samples from class
This chalk paint class created both memories and new skills. It turned out to be the gift that will keep on giving… since it has given Haley the motivation to start a little business for herself…refinishing some pieces and selling them. Here’s her first piece listed on craigslist:
Chalk paint is so simple to use, it’s actually quite ideal for a child. There is no priming necessary, and no toxic fumes. It also dries incredibly fast. I really do think the finished result looks more professional and finished (in a distressed non-finished kind of way!).
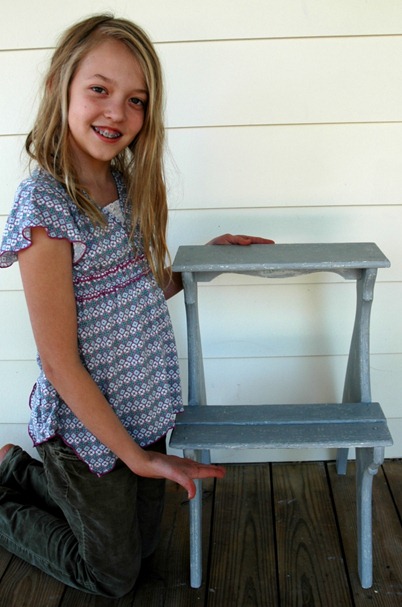
The stool was first painted with Annie Sloane’s Old White, the second coat painted with Paris Gray. After some light distressing, we followed it with a clear wax.
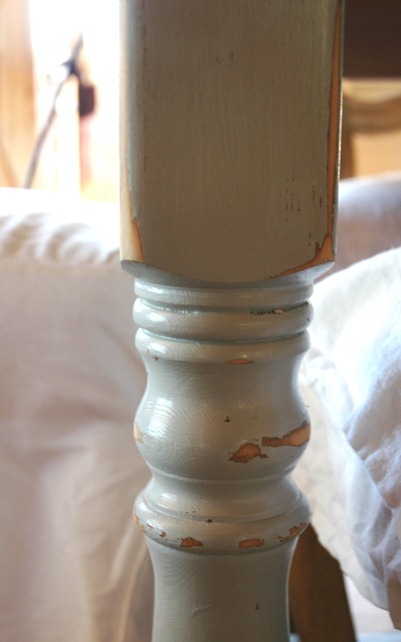
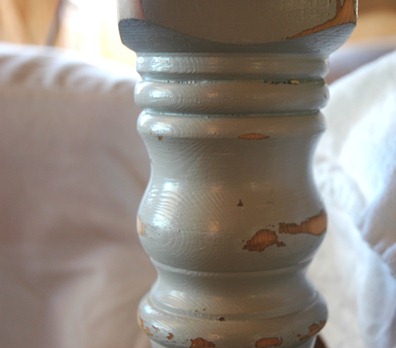
Here is our table leg I originally painted with latex paint:
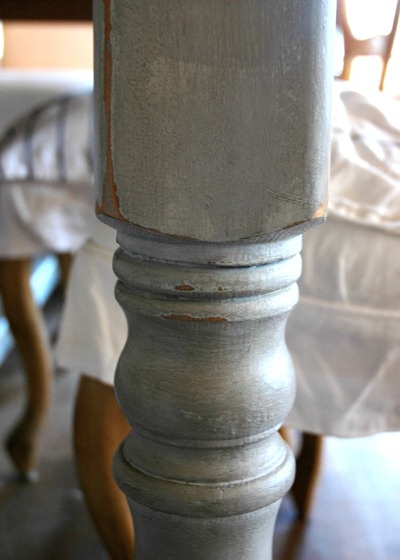
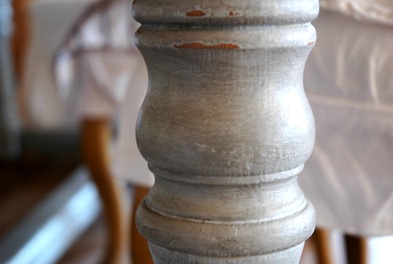
And here is a leg painted with chalk paint in Paris Gray:
I used the Annie Sloan clear wax after painting this leg, then used some Valspar antiquing glaze I had on hand to add some age. I could have bought the Annie Sloan dark wax to give the same affect, but I had already blown my budget and couldn’t afford a second can of wax that day. I think the antique glaze worked out pretty well.
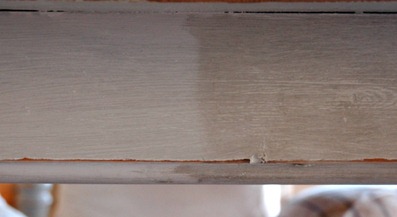
Above, on the left is chalk paint with clear wax, and on the right is chalk paint with clear wax and antique glaze. It darkens it a bit and gives more dimension to the finish.
A closer look of the latex painted leg:
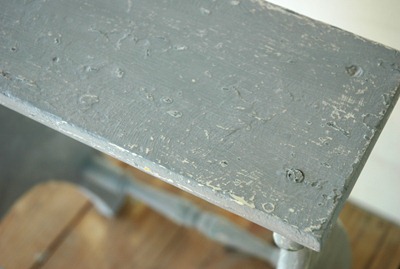
And the chalk paint leg:
I’m so excited about this new medium, and I envision an abundance of projects in my future… and Haley’s future too. :)
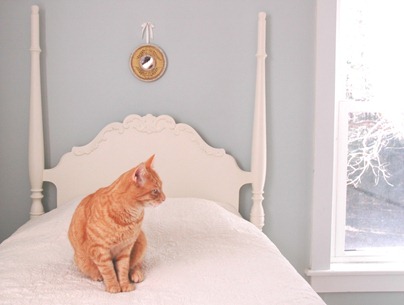
Two years ago, I posted about our girls’ room for the first time. Back then, they were all sharing, and still little:
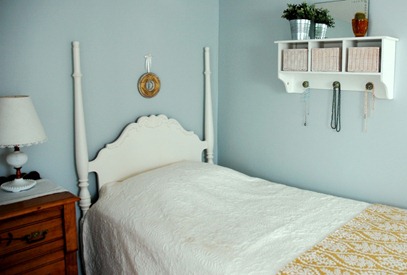
But now our oldest two are going on 11 and 13. Too old for pink pom-poms and rag dolls, they say. So we’ve been doing a little here and a little there to make their new bedroom grown up.
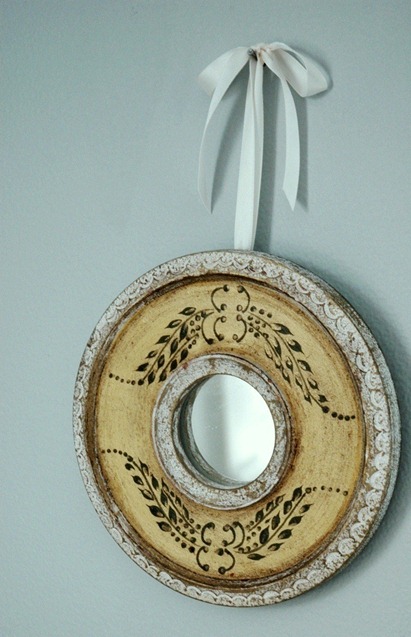
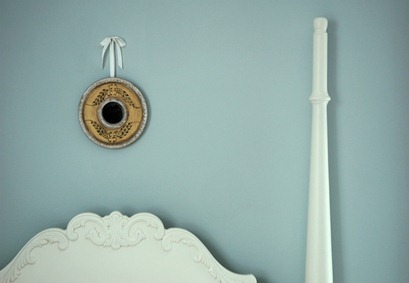
It all started with these little Anthropologie frames I’ve had for several years. I used to have the pair hanging in our old dining nook. They are sweet, but sophisticated. Grown up!
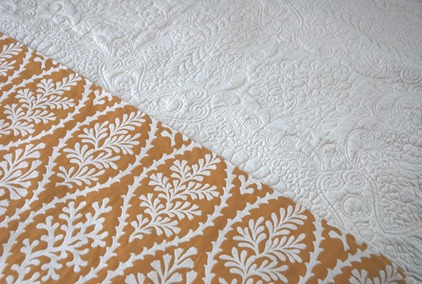
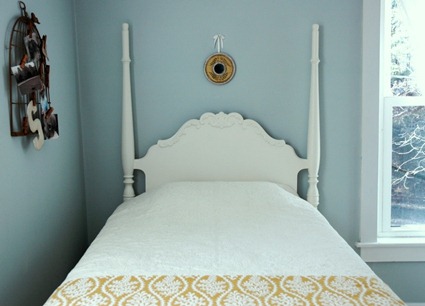
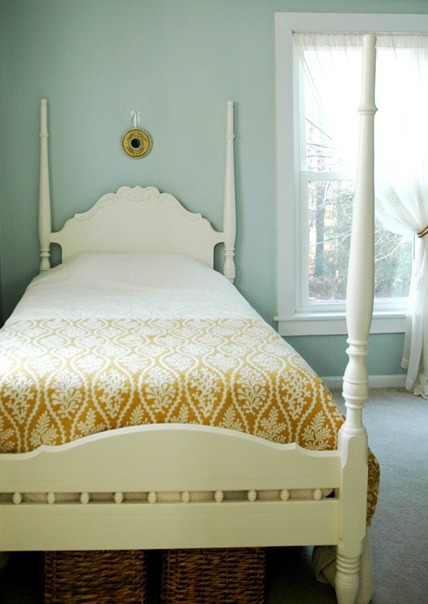
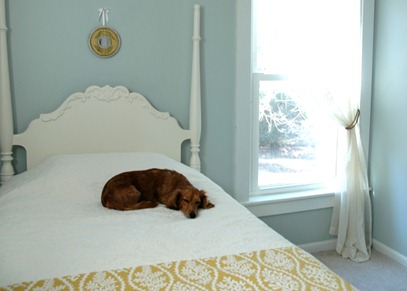
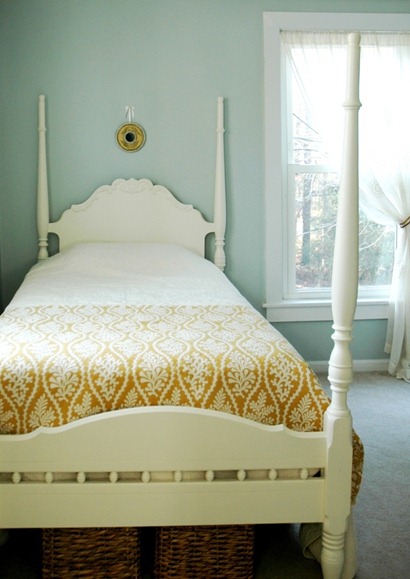
We painted the walls “Sea Salt”, a Valspar color. I love the combination of gold and bluish-green. I found the perfect gold fabric to drape the ends of their beds. I simply hemmed a yard of fabric for each bed. Easy.
I contemplated coordinating pillows at the head of the bed, but we chose to keep it simple. Pillows would have detracted from the detail of the headboard, and taken the focus away from the little framed mirror. The absence of throw pillows means their beds are quick to make each morning.
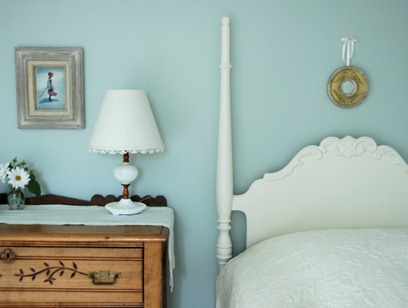
Their matching bed frames came from craigslist for $75 a pop. I painted them a creamy white, and found some matelassé coverlets from Homegoods to match.
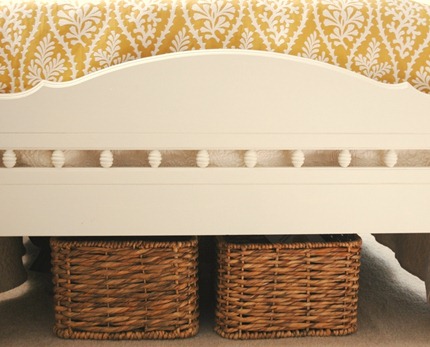
Space is at a premium, so we use baskets under the bed for storage.
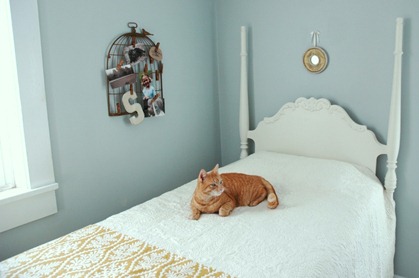
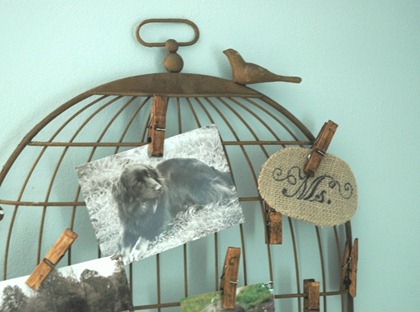
We found the bird cage picture hanger from World Market.
The girls are infatuated with birds, so it was the perfect addition.
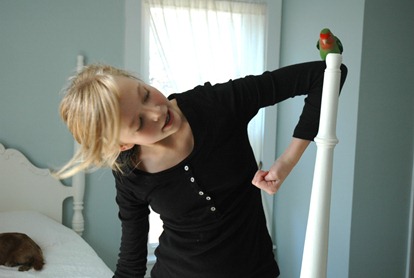
We played musical pets during this photo shoot :) Here’s Paris trying to get her lovebird to pose on the bed post (it was unsuccessful, as he didn’t want to leave her elbow)…
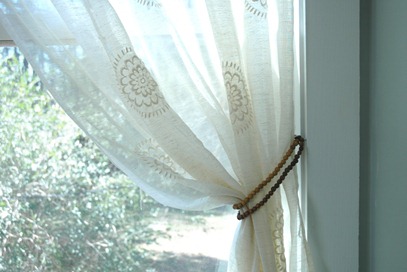
The curtains we kept simple but romantic with $13 patterned sheers from Target.
I used $2 strings of beads from the craft store to drape the curtains back. A bit of a bohemian vibe.
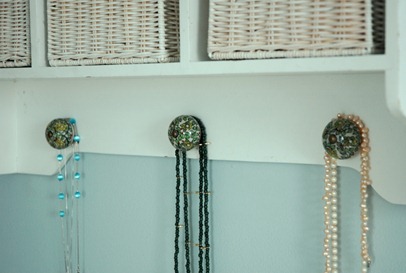
We used an old cubby to hang above the other bed…
but switched out the original hooks for these World Market knobs to hang their necklaces:
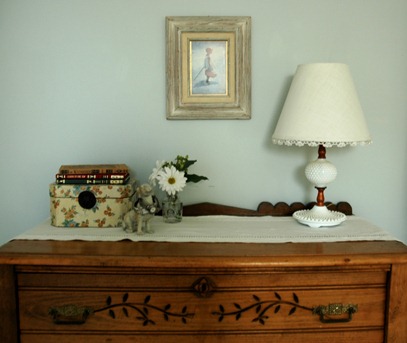
After telling my mother approximately 1000 times how much I liked this particular dresser, she finally gave it to me. :)
It’s here only temporarily though. I’ve been picturing it in our downstairs bathroom. Can’t you see a sink in it with a wall-mount faucet? Yup, me too.
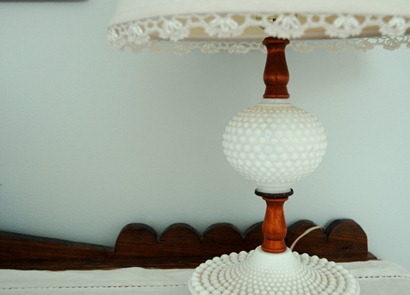
The lamp was a thrift store find, and I like the vintage flair it gives to the space:
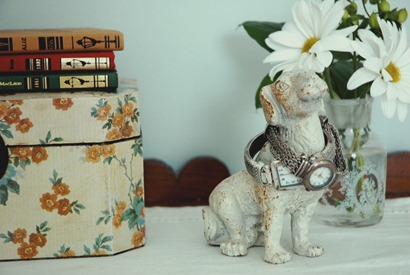
I gave the girls my “watch dog”, along with the loan of my watches.
Seems my whole wardrobe is on loan these days. My oldest daughter is starting to outgrow my shoes. Like I said, a lot can happen in two years!
I wonder what the next two years will bring. :)
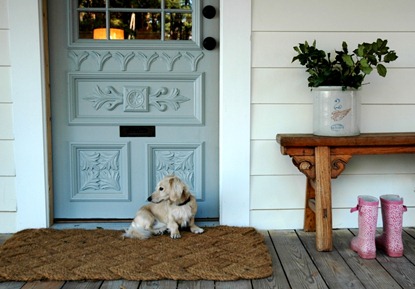
If you remember, our new front door was the first find for our new farmhouse. We bought it off of craigslist for $100 before we even closed on the house. Here it is before:
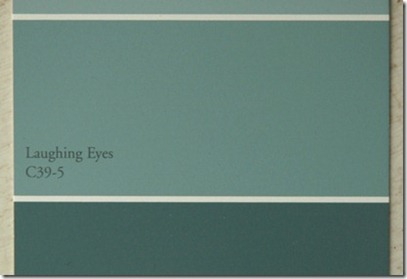
I originally painted it “Laughing Eyes” (by Ace):
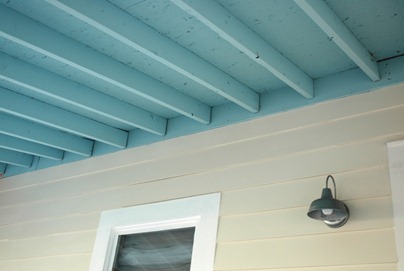
But once installed, it still looked too blue. I knew I wanted to paint the porch ceiling blue and Laughing Eyes was not giving me enough contrast. Here is our ceiling in the process of being painted (not close to finished):
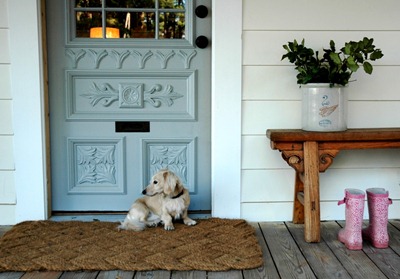
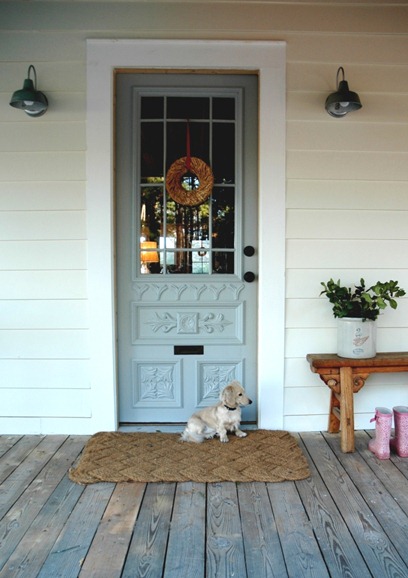
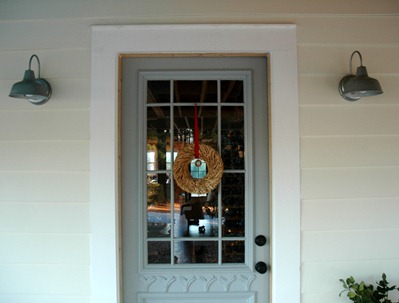
In the end, I decided upon Coventry Gray (Benjamin Moore) for the front door color and I’m happy with it:
It took us until now to post pictures because it took us 6 months to finish the project. (and it’s still not even done… see the unpainted door jam?) Since one thing leads to another in this renovation process… it wasn’t just a matter of swapping the new door for the old. Oh no. Since it was a different size, there was gaping where the siding met the new door, which required us to change the siding. We replaced the aluminum siding with Hardiplank and painted it Cottage White (Behr).
We could only afford to replace half of the siding of the house (it wasn’t in the plans after all), so currently we are sporting a two-tone look. The top half is still white aluminum. I’m hoping the neighbors don’t think it’s for keeps. At least from the middle down, the house is lookin’ pretty.
The galvanized lights are from Lowes. The super simple Swedish wreath is from Ikea. Doormat is from World Market. The dog is not for sale. :)
Finally one of the rooms downstairs is completely finished. Did I just say finished? Yes!
Granted, it’s a tiny room, but I’ll take finished any way I can get it.
It’s funny how priorities shift almost weekly in this renovation process. Real life charges on and sets the course. Nothing is how we planned it to be. One thing leads to another. So much for our pact: “we’ll only work on one room at a time and not move on until it’s finished”. Ha! Almost every surface in our house has been touched by the messtruction in one way or another. It’s how it goes…
So, we had to bring the piano in from storage as piano lessons started up again(fall crept up on us). But to bring the piano in, we needed to have a place to put it! Which required a good two weeks of work. Remember…one thing leads to another.
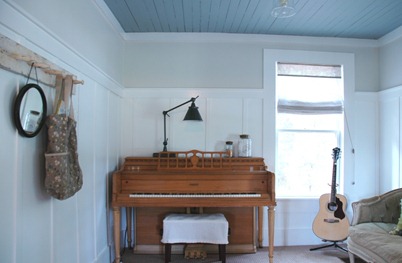
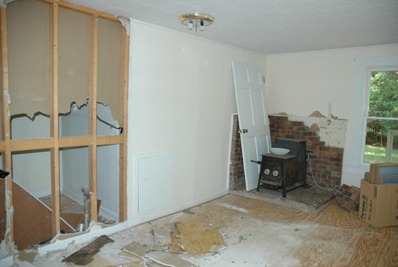
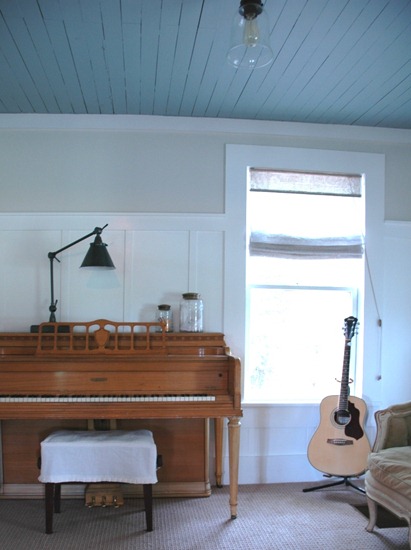
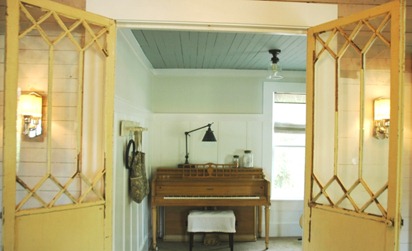
Our new music room used to be the living room of sorts. It was the room you walked into from the front door. The piano now sits where the woodstove was before.
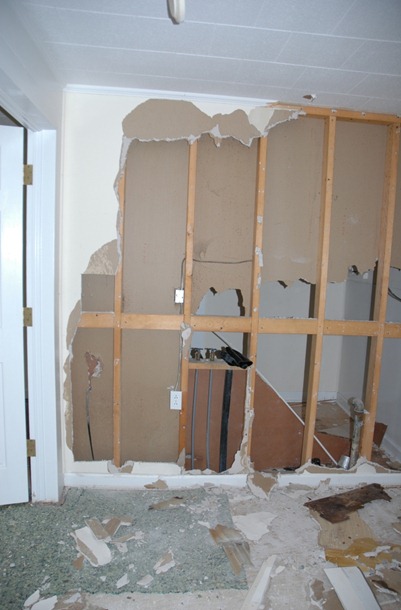
The wall that you would see when you walked in the front door.
Like some of the other rooms, we had to replace some floor joists and straighten the walls. Basically a complete gut job. Upon opening the wall, we found the home of its previous residents:
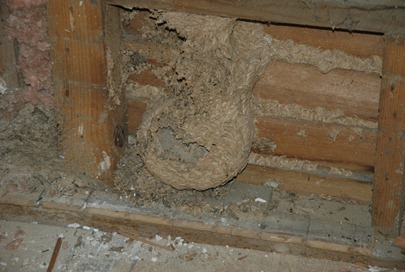
giant wasp nest inside wall
Thankfully they were long gone, or it would have been quite a sting!
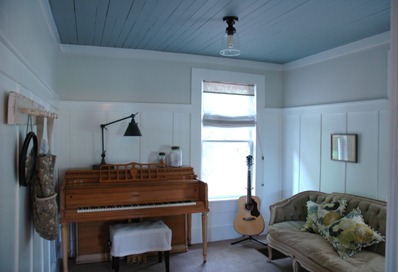
We added the wainscoting which is painted “Clean White”… a Waverly Valspar color. Above the wainscoting, I used my favorite neutral, “China Moon”, also Valspar. The ceiling is painted a grayish blue for a unexpected splash of color. Ceiling light with Edison bulb from Lowes.
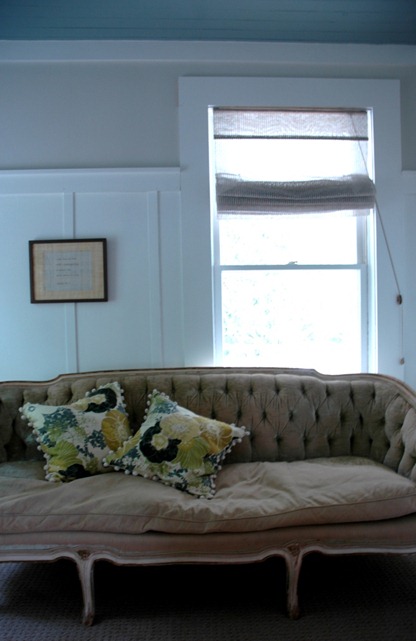
We moved our vintage French sofa in the room as the size was perfect for the space.
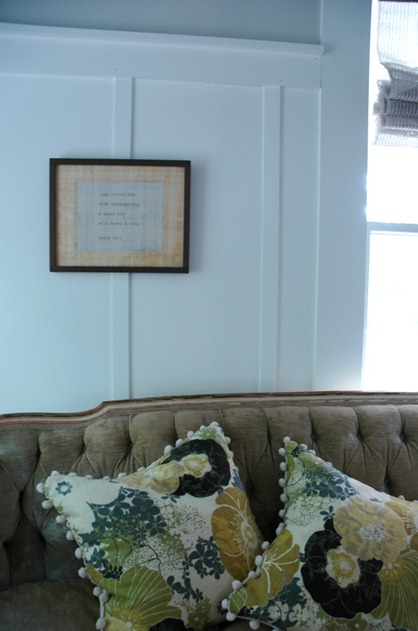
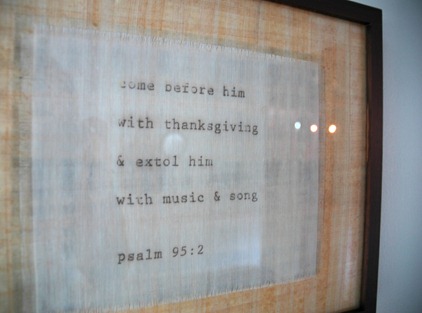
Above sits a framed scripture plaque I made. The background material is handmade paper from the art store (love the texture!).
On top is a piece of fringed sheer fabric with the verse “printed” on using the miraculous Citrasolv.
Instructions for using Citrasolv found here.
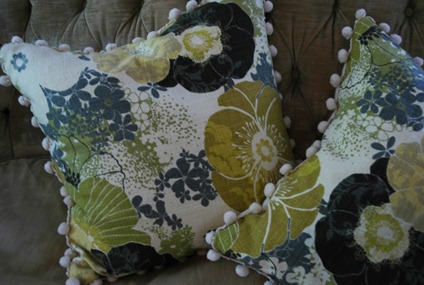
I love browsing fabric stores. I’m *always* inspired by fabric, and when I saw this, I fell in love. It has that vintage flair that I was looking for, the colors were perfect, and mixed with the pom-pom trim, the pillows turned out so playful and fun.
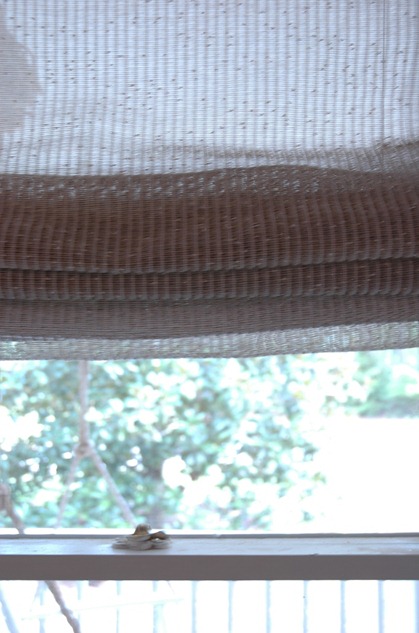
The fabric roman shades came from Lowes. I’ll probably be using the same ones on all my downstairs windows. I love that they are sheer to allow the light through, and the linen material provides texture. And they’re cheap!
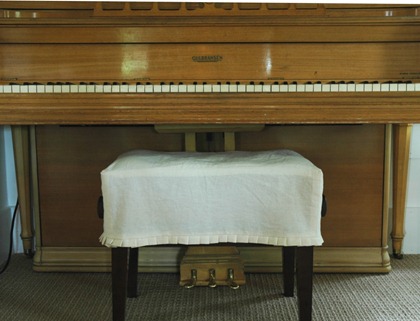
Our new piano teacher insisted on an adjustable bench seat. Does she not realize the design dilemma that left me faced with???? I scoured the internet for a cute, cottage-like adjustable piano bench. I’ll spare you a similar search. It doesn’t exist.
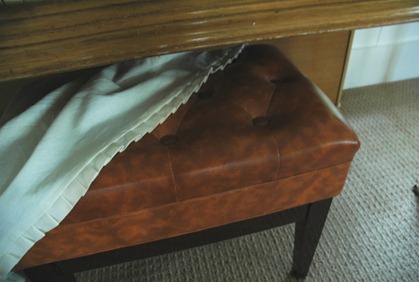
I decided to make a slipcover, and added some pleats at the bottom for a more tailored look. Much improved I think, although there was no way to tactfully cover up those honkin’ knobs on the sides!
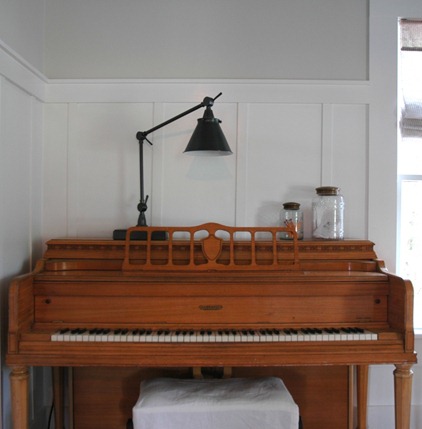
I wanted to play up the black keys of the piano by choosing a bench with black legs, and also by adding a black task light above. I knew I didn’t want the traditional ho-hum piano light, and when I saw this industrial looking light from Pottery Barn, I thought it was perfect for the space. I love the clean lines and contrast against the white walls, and it provides a very practical purpose in addition.
I always shy away from making a room look to0 themey. But since this is a music room, I did add some theme-like elements but only because they are actually used items.
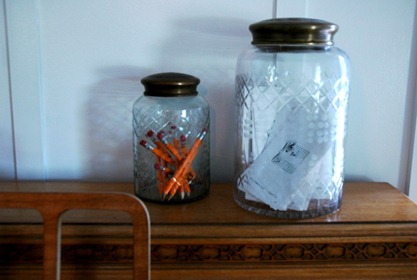
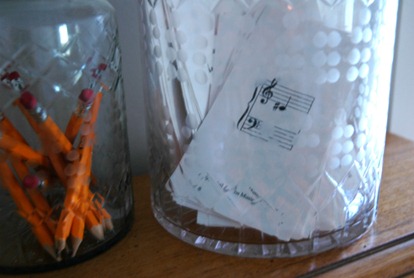
Sharpened pencils at the ready in the smaller Anthropologie apothecary jar, and music flashcards in the bigger one.
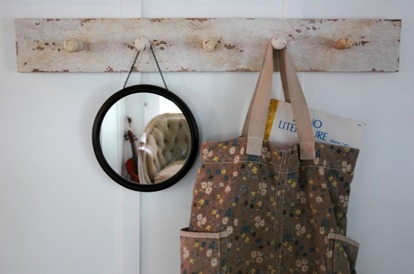
You might recognize this row of hooks and mirror from my old laundry room. A large tote hangs on one of the pegs which holds the kids’ current music books. Hanging storage=more floor space.
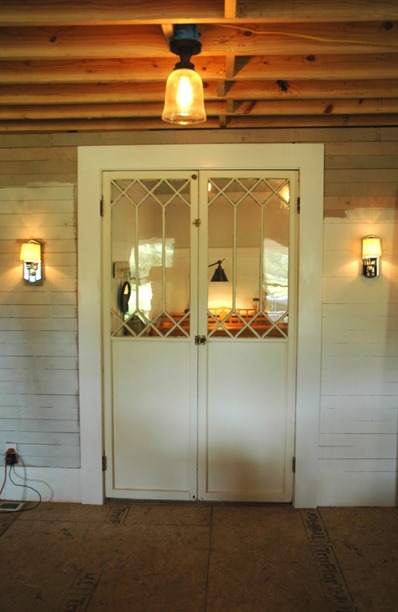
The antique doors leading into the room were a souvenir we brought back from a trip to Asheville, NC. They came from one of my favorite antique shops ever, Oddfellows Antiques. They have the most unique stuff… a lot of it European. I don’t know where these particular doors are from originally, but I like to pretend they came out of a charming stone villa from the French countryside. One can daydream! I still have to finish painting them, so I suppose that disqualifies this room from the coveted “finished” status.
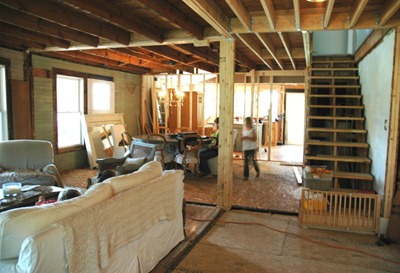
But I like to cheat… in my view, they technically belong to the living room. And as you can see, the living room is definitely not finished. Still in-between.
But better than before.

the “before” view of the same space
